Get started
Register & log in
To create an APO Dashboard account, please contact the Business Development team to get the invitation email and complete the registrationprocess.
After registration, log in to APO dashboard with the email address that you have registered in APO. Then APO will assist you with registration, and a merchant account will be created for you by default. In that case, you need to reset your password by clicking Forgot login Password? when logging in for the first time.
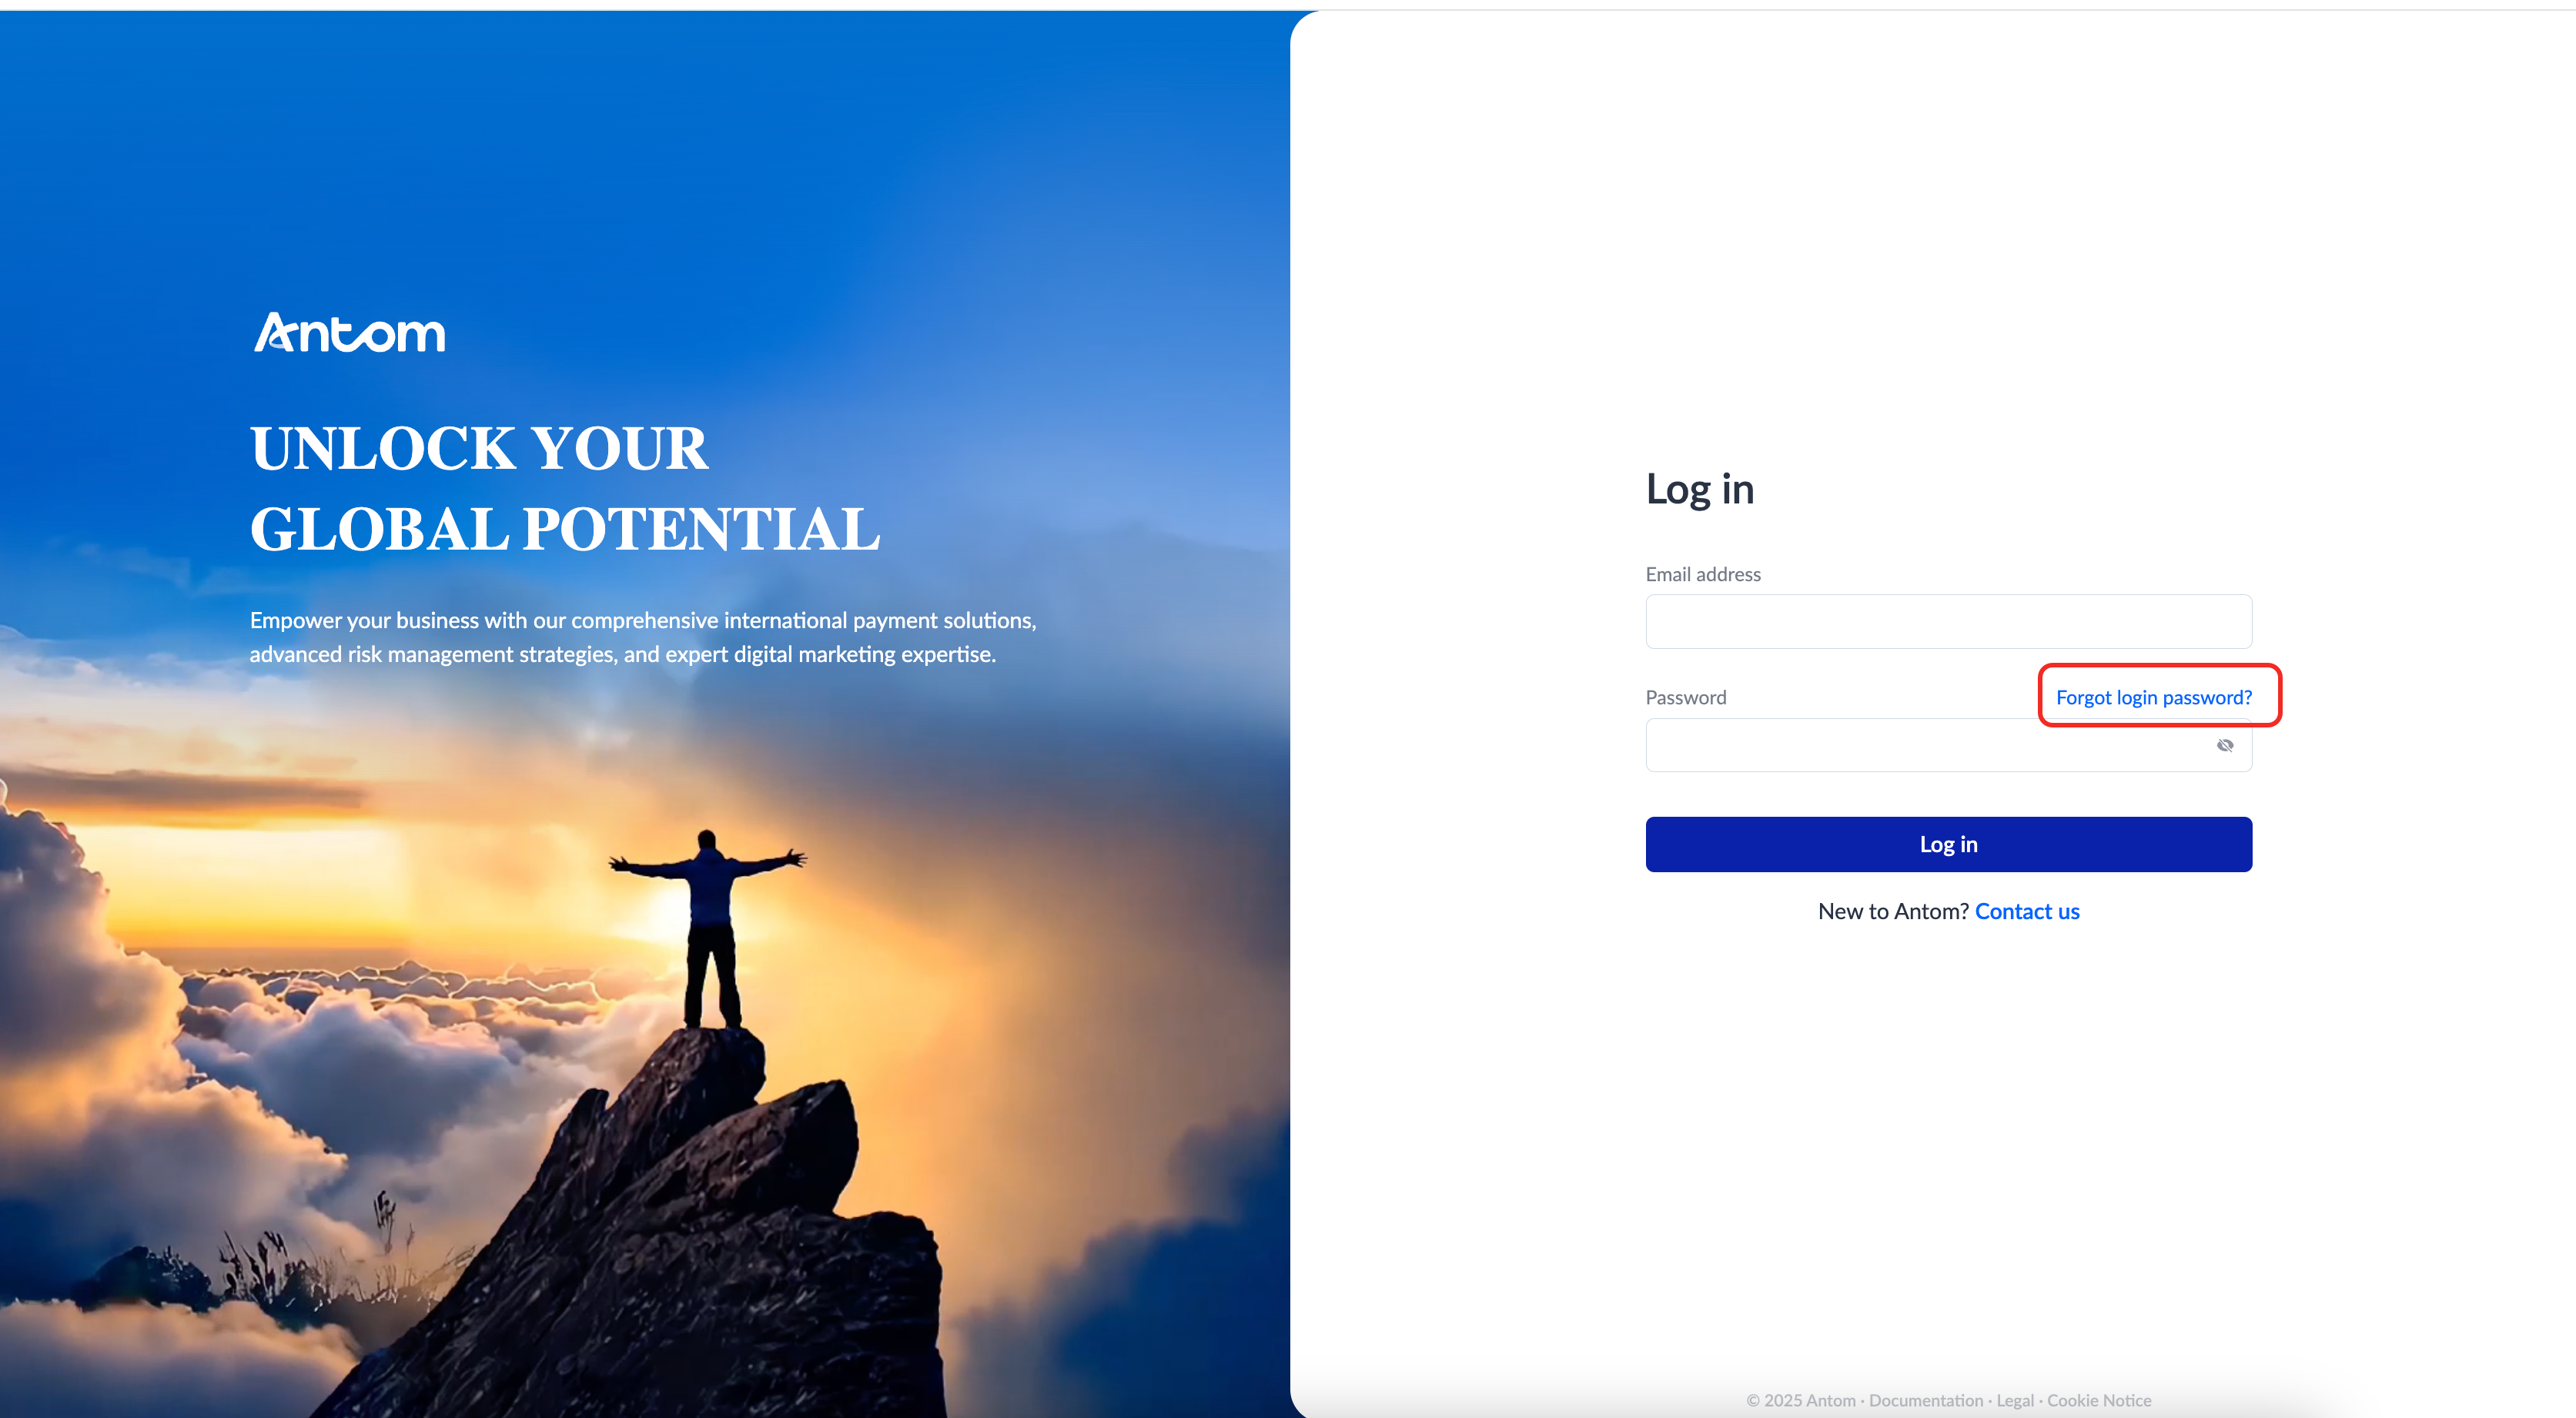
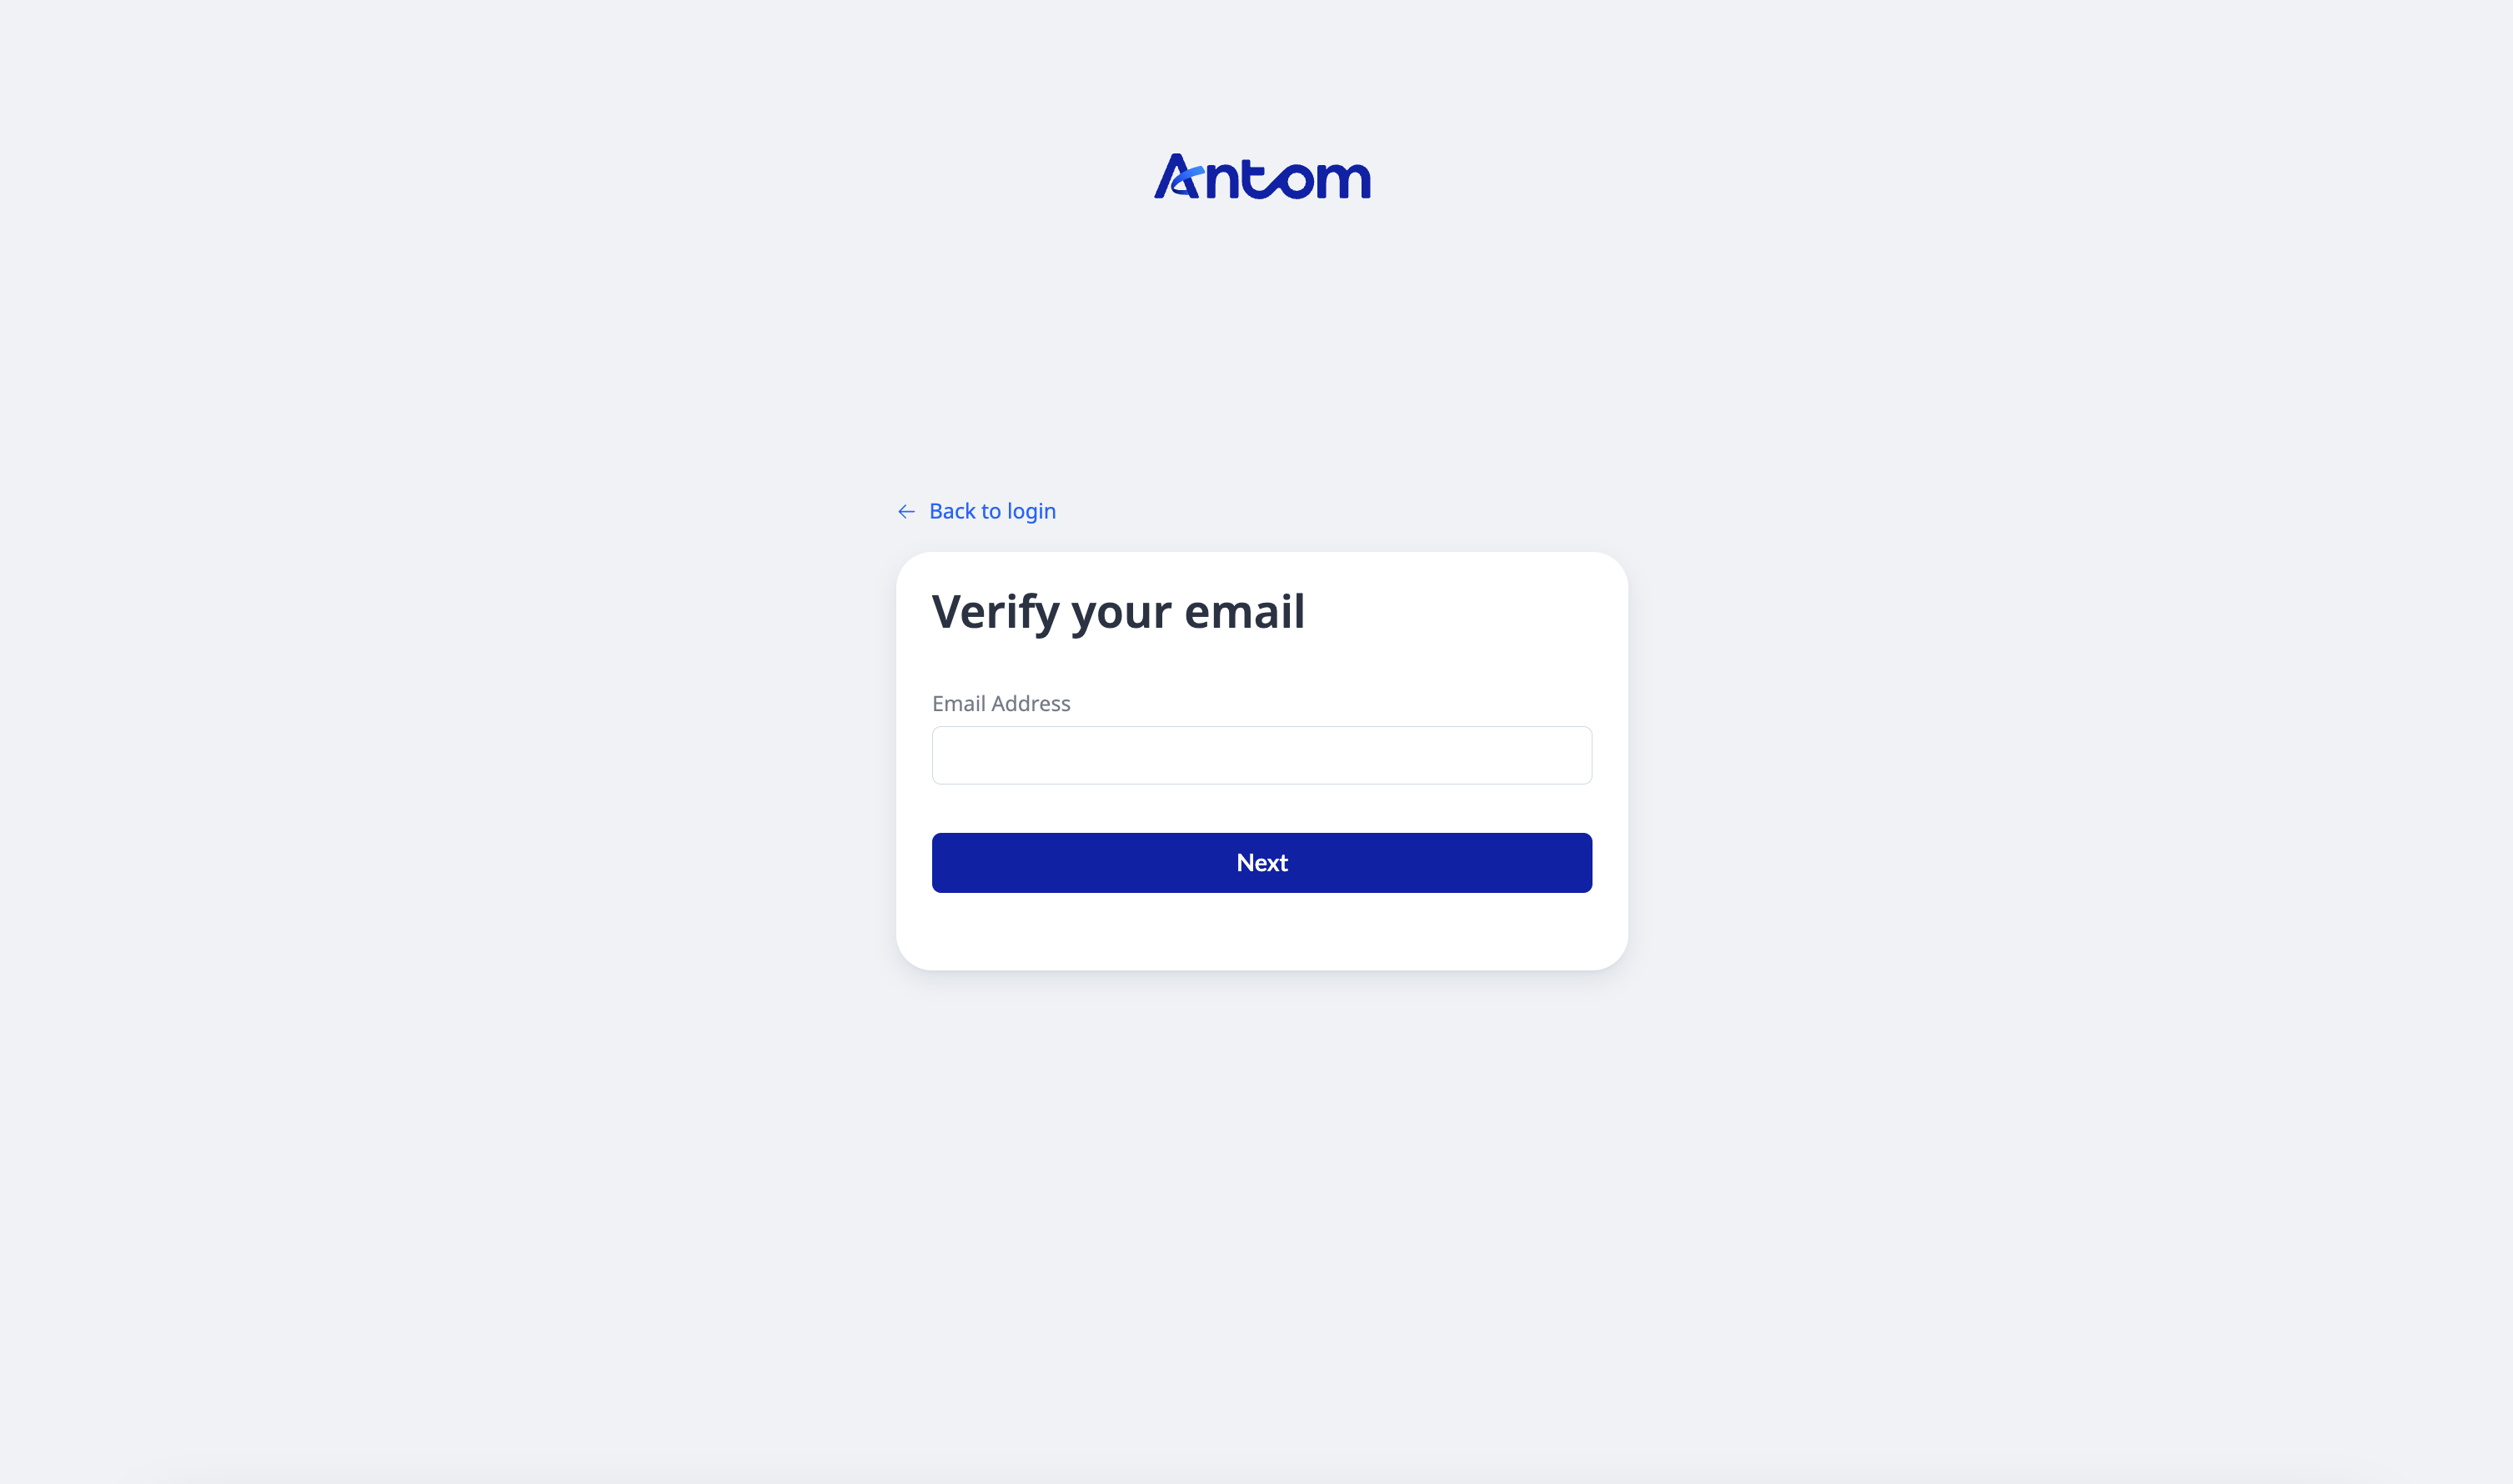
To reset your login password, complete the following steps:
- Enter the email address you provided for onboarding.
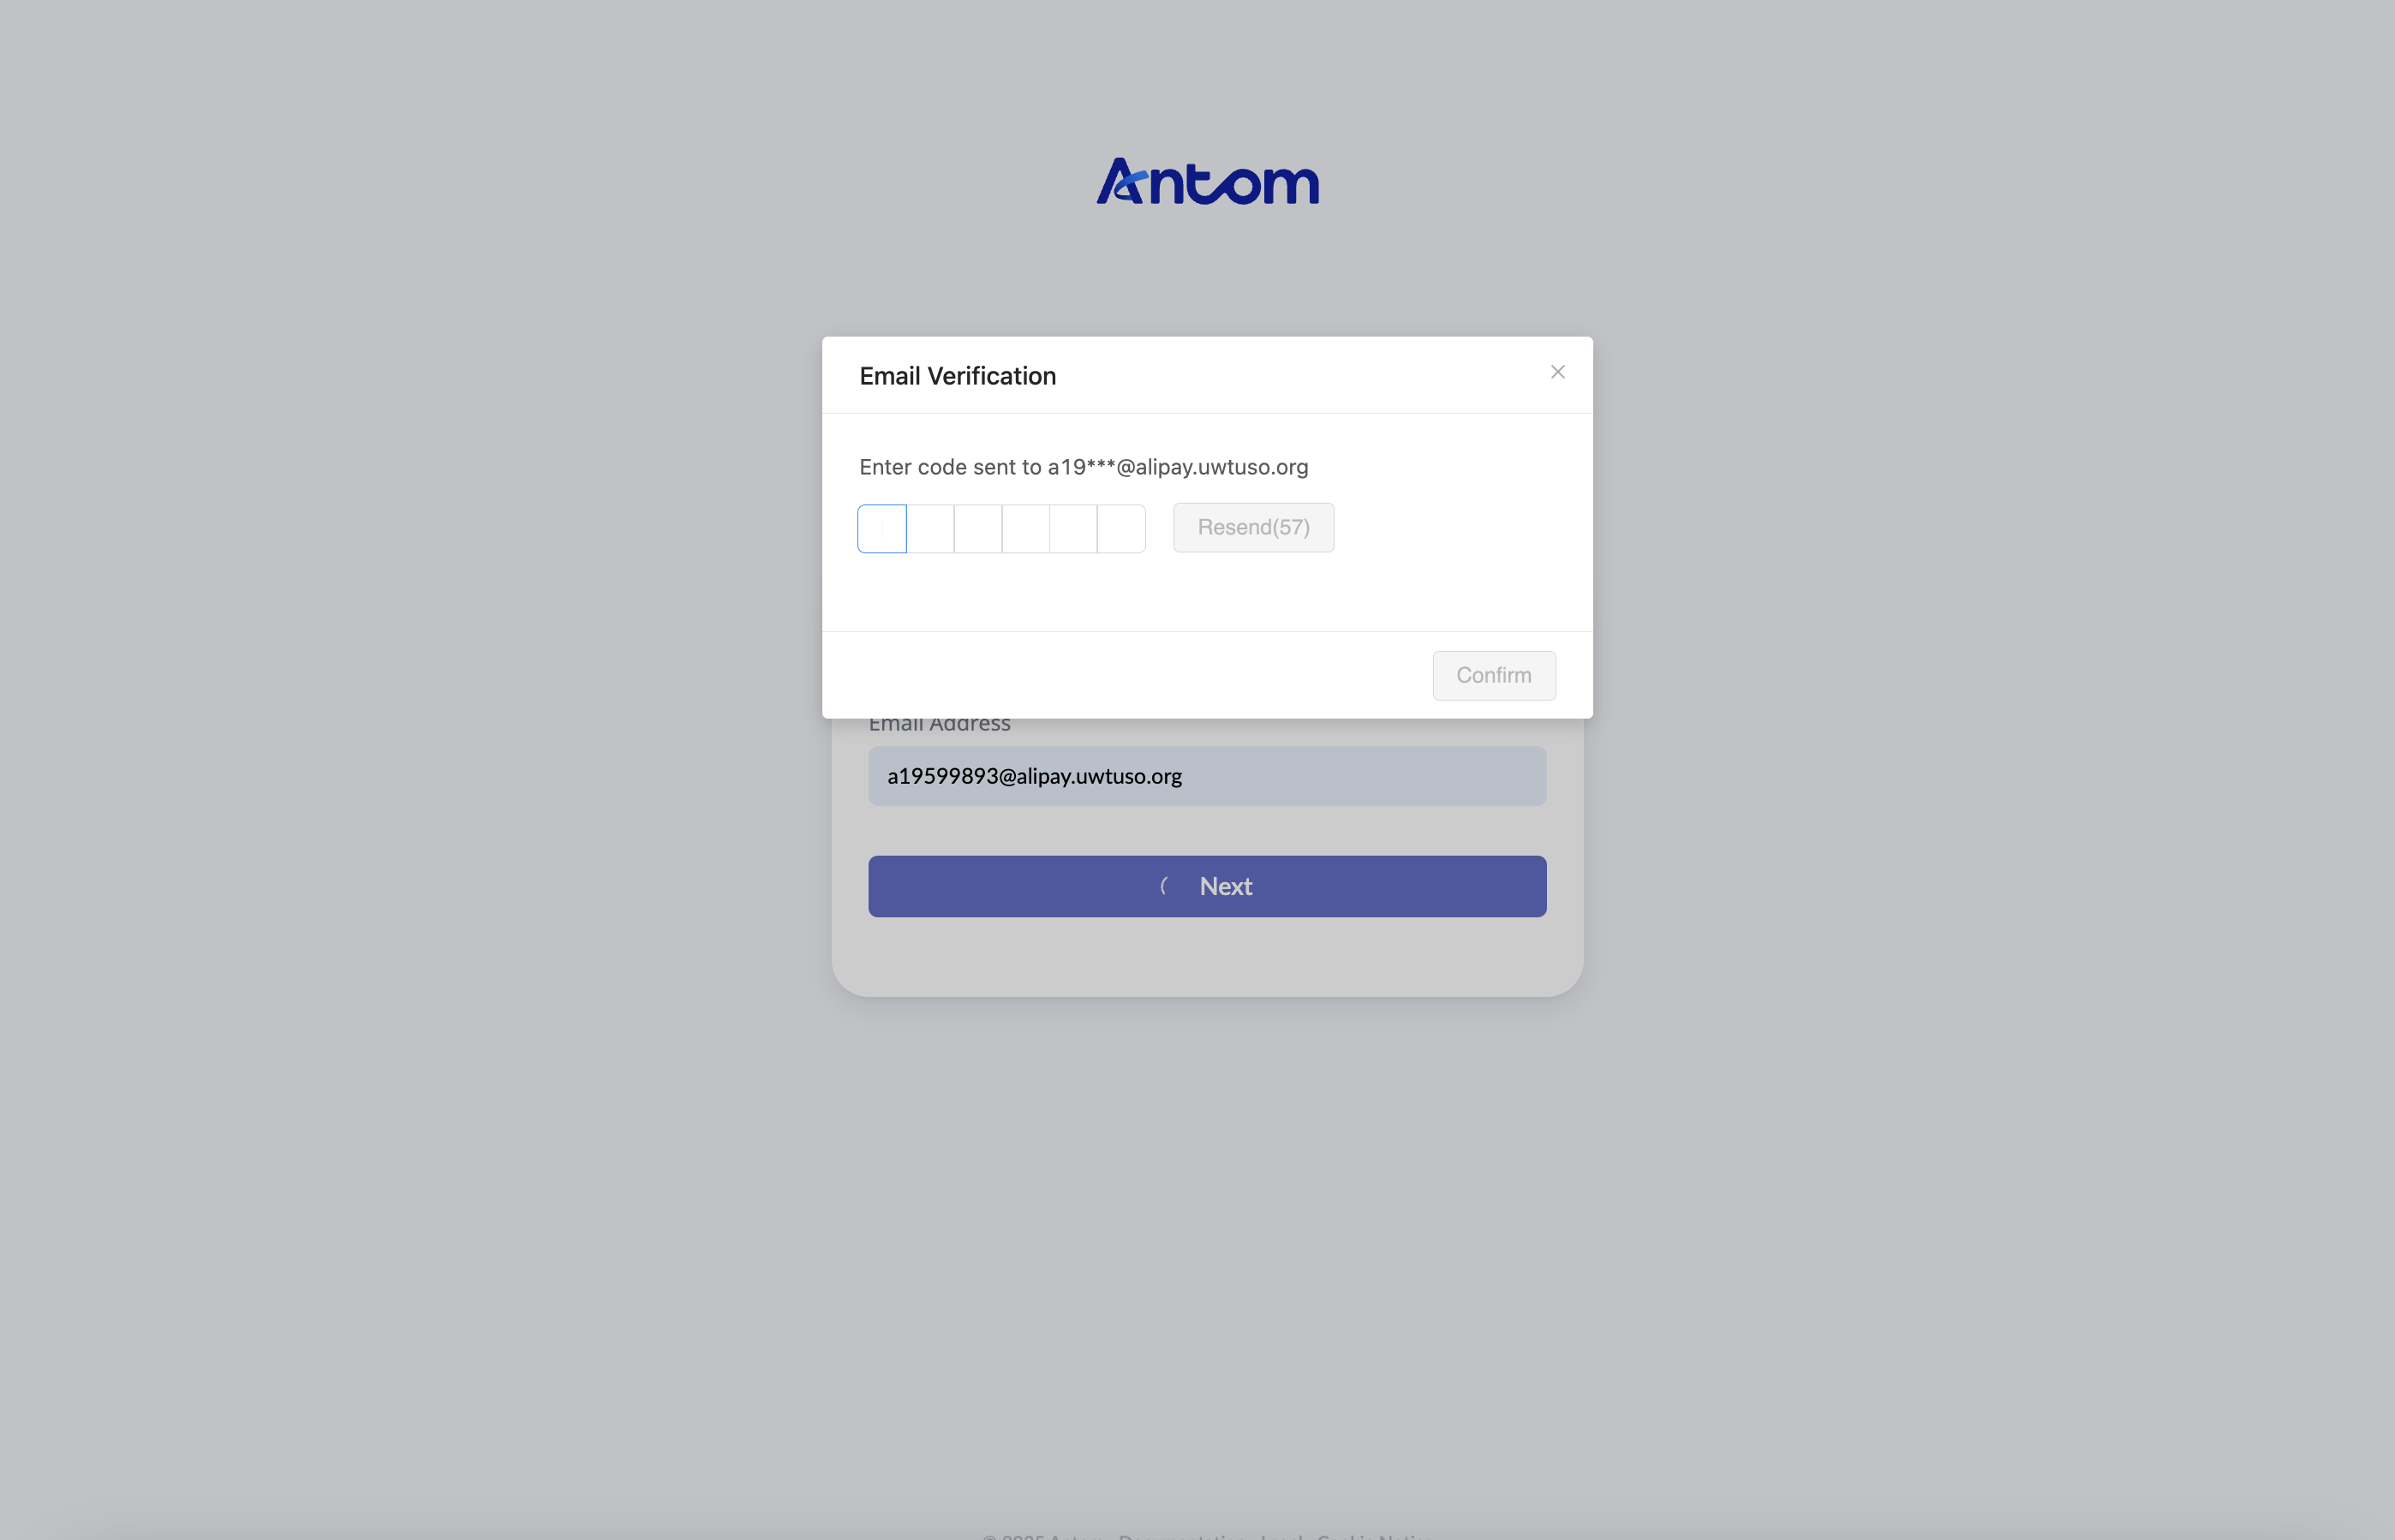
- Receive the OTP (One-time password) via email and enter it in the Dashboard for verification.
- Reset your login password and save it.
Connect to acquirers and activate payment methods
Start by connecting a payment service provider and activating the payment methods you want to use. Once this is done, APO will be able to initiate payments with the connected acquirer.
Note: Only users with administration or operations access can set up acquirers and activate payment methods. For all other roles, this feature will remain hidden to protect sensitive information such as API keys.
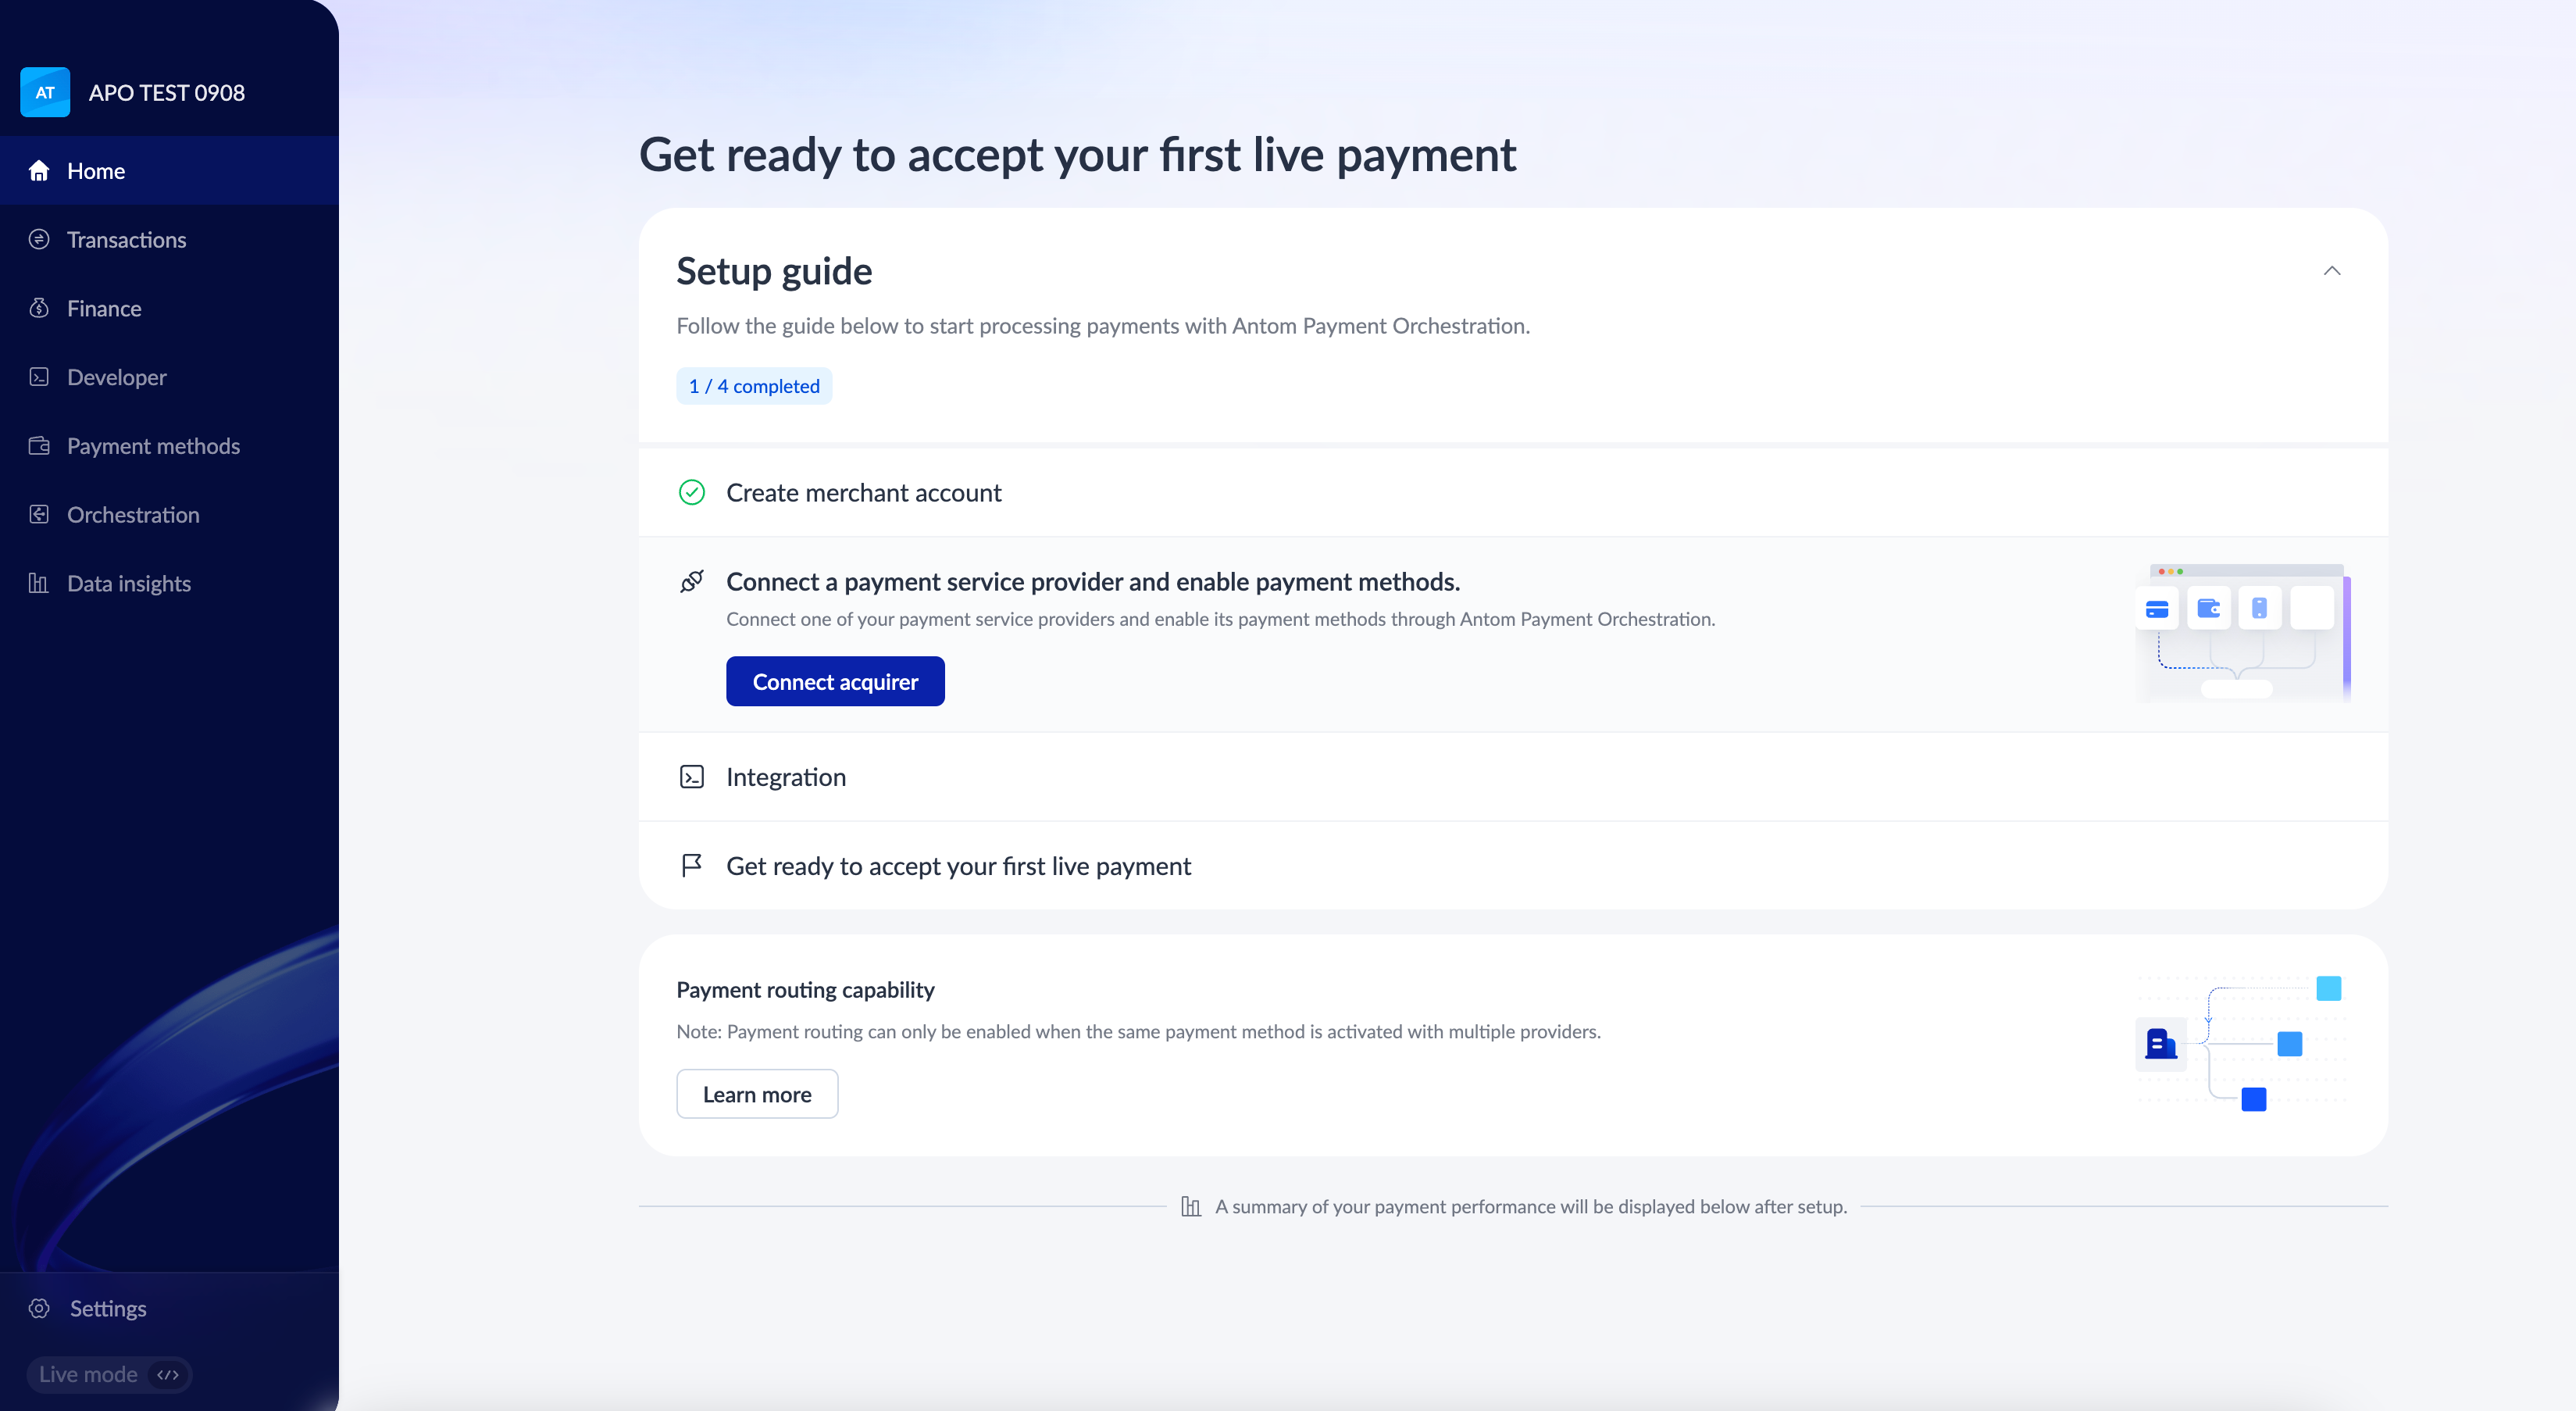
Begin by completing the setup in the Sandbox environment to test and validate your configuration. After successful testing, perform the same setup again in the Live environment to ensure that payments function correctly in both testing and production.
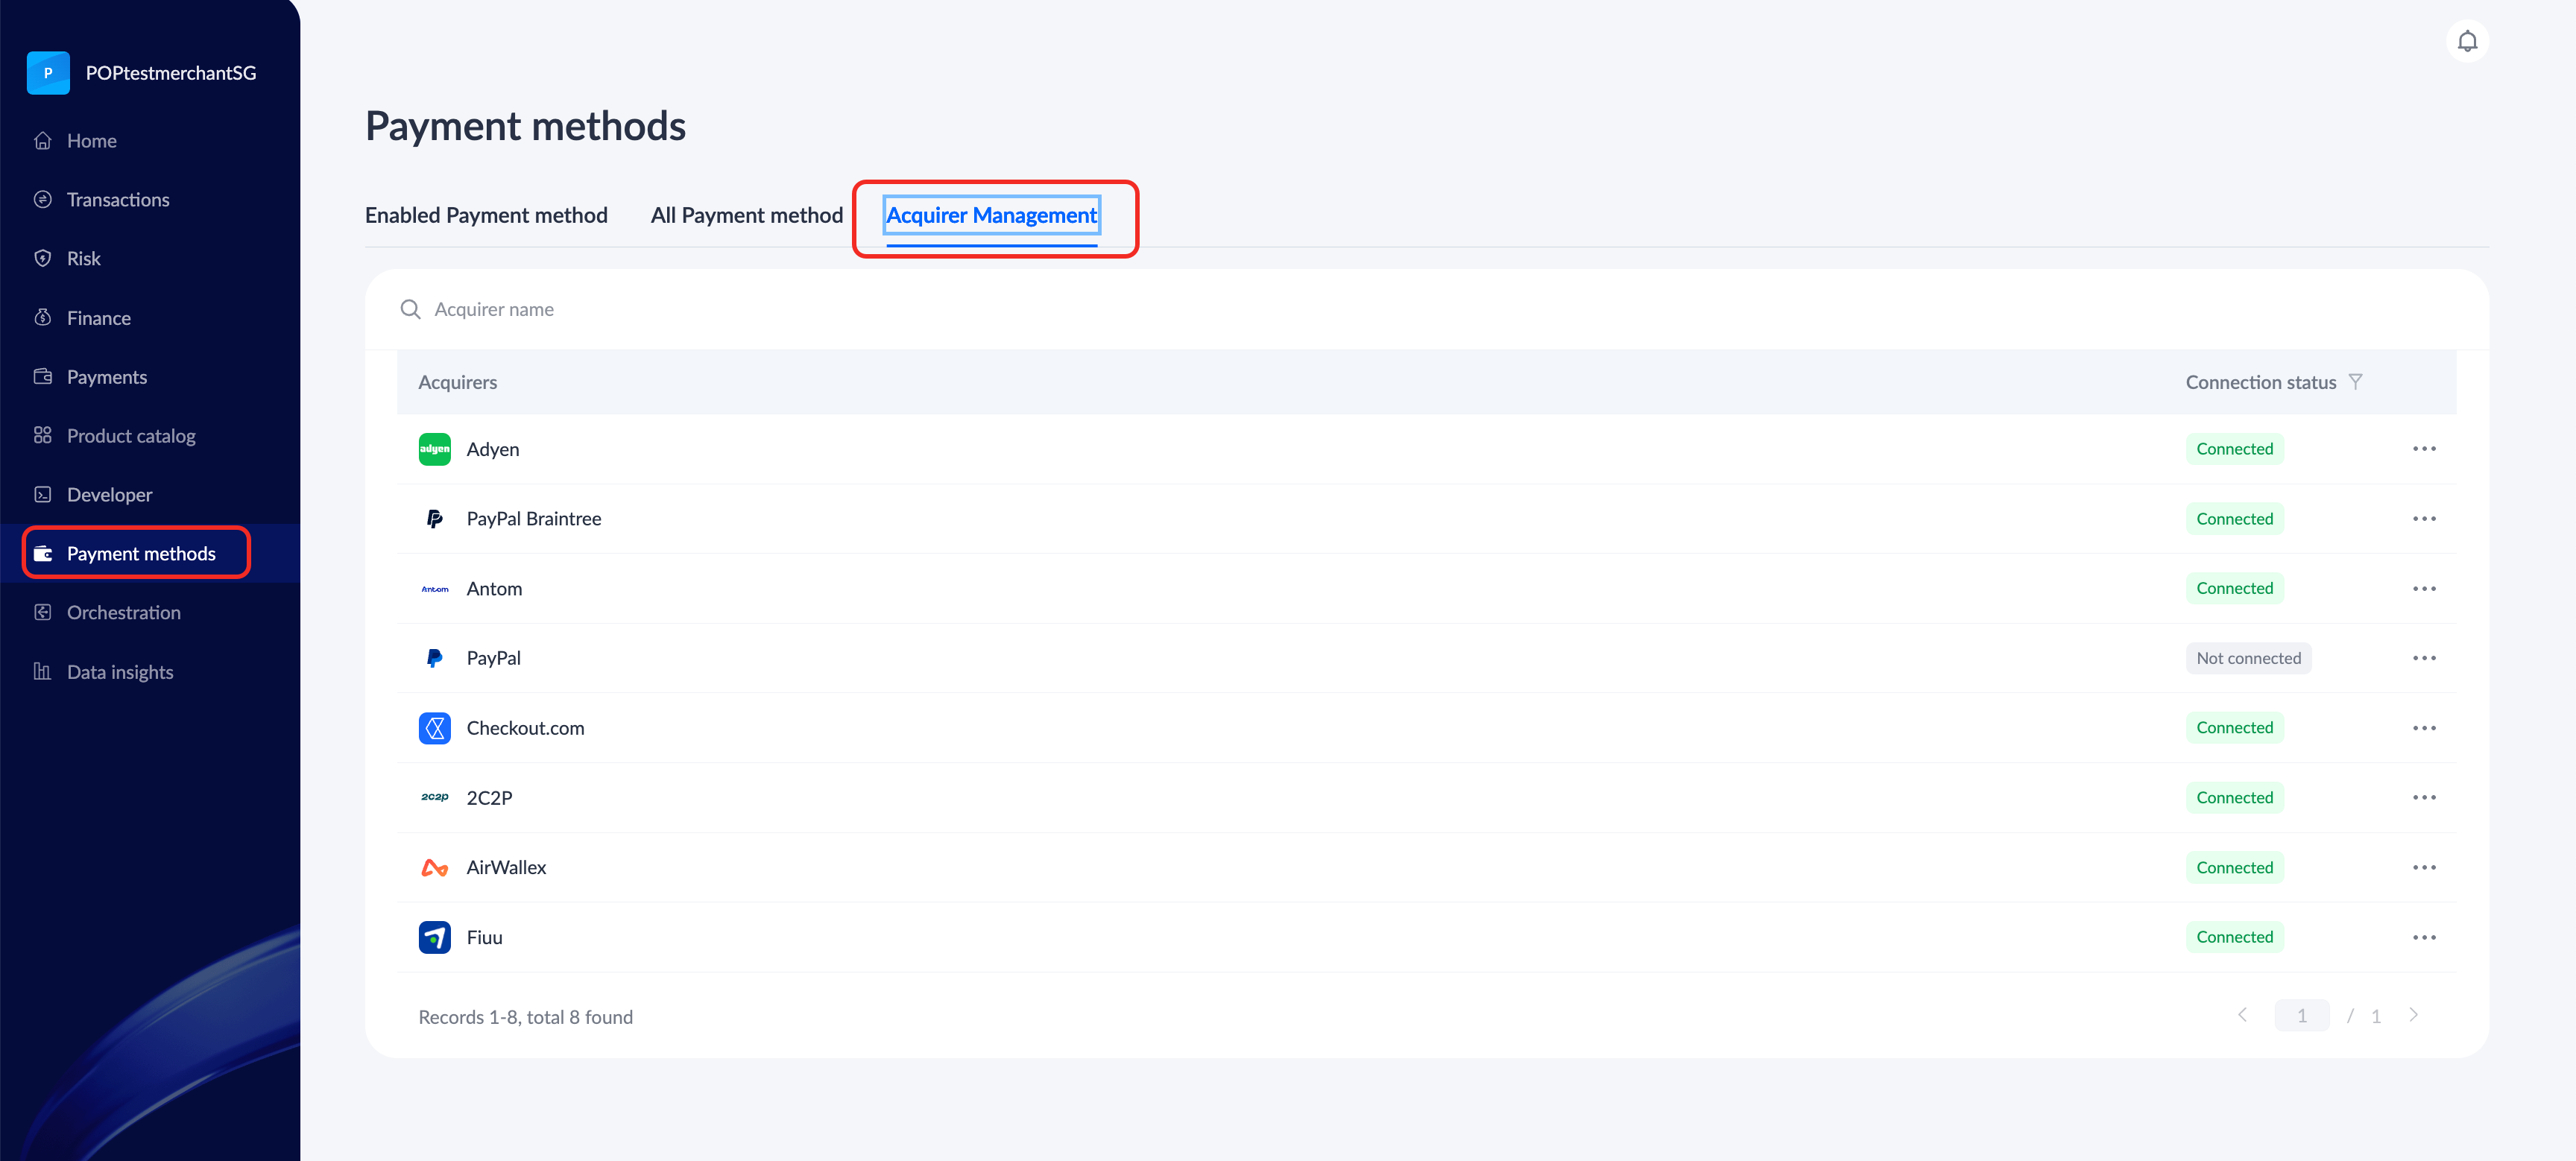
Connect to acquirers
You need to setup the following configurations on APO Dashboard to complete connections. Go to Payment Methods on the left panel menu and configure acquirer connection setup under Acquirement Management. For details, please refer to Acquirer management.
Activate payment methods
After connecting to the acquirer, you need to activate specific payment methods under your preferred acquirer(s) to complete the activation process. This ensures that the selected payment methods are fully operational and ready to be used for processing transactions. For details, please refer to Enable payment methods.
Sandbox Configuration
Before you start sandbox testing, generate your keys and acquire the associated integration resources for the sandbox environment.
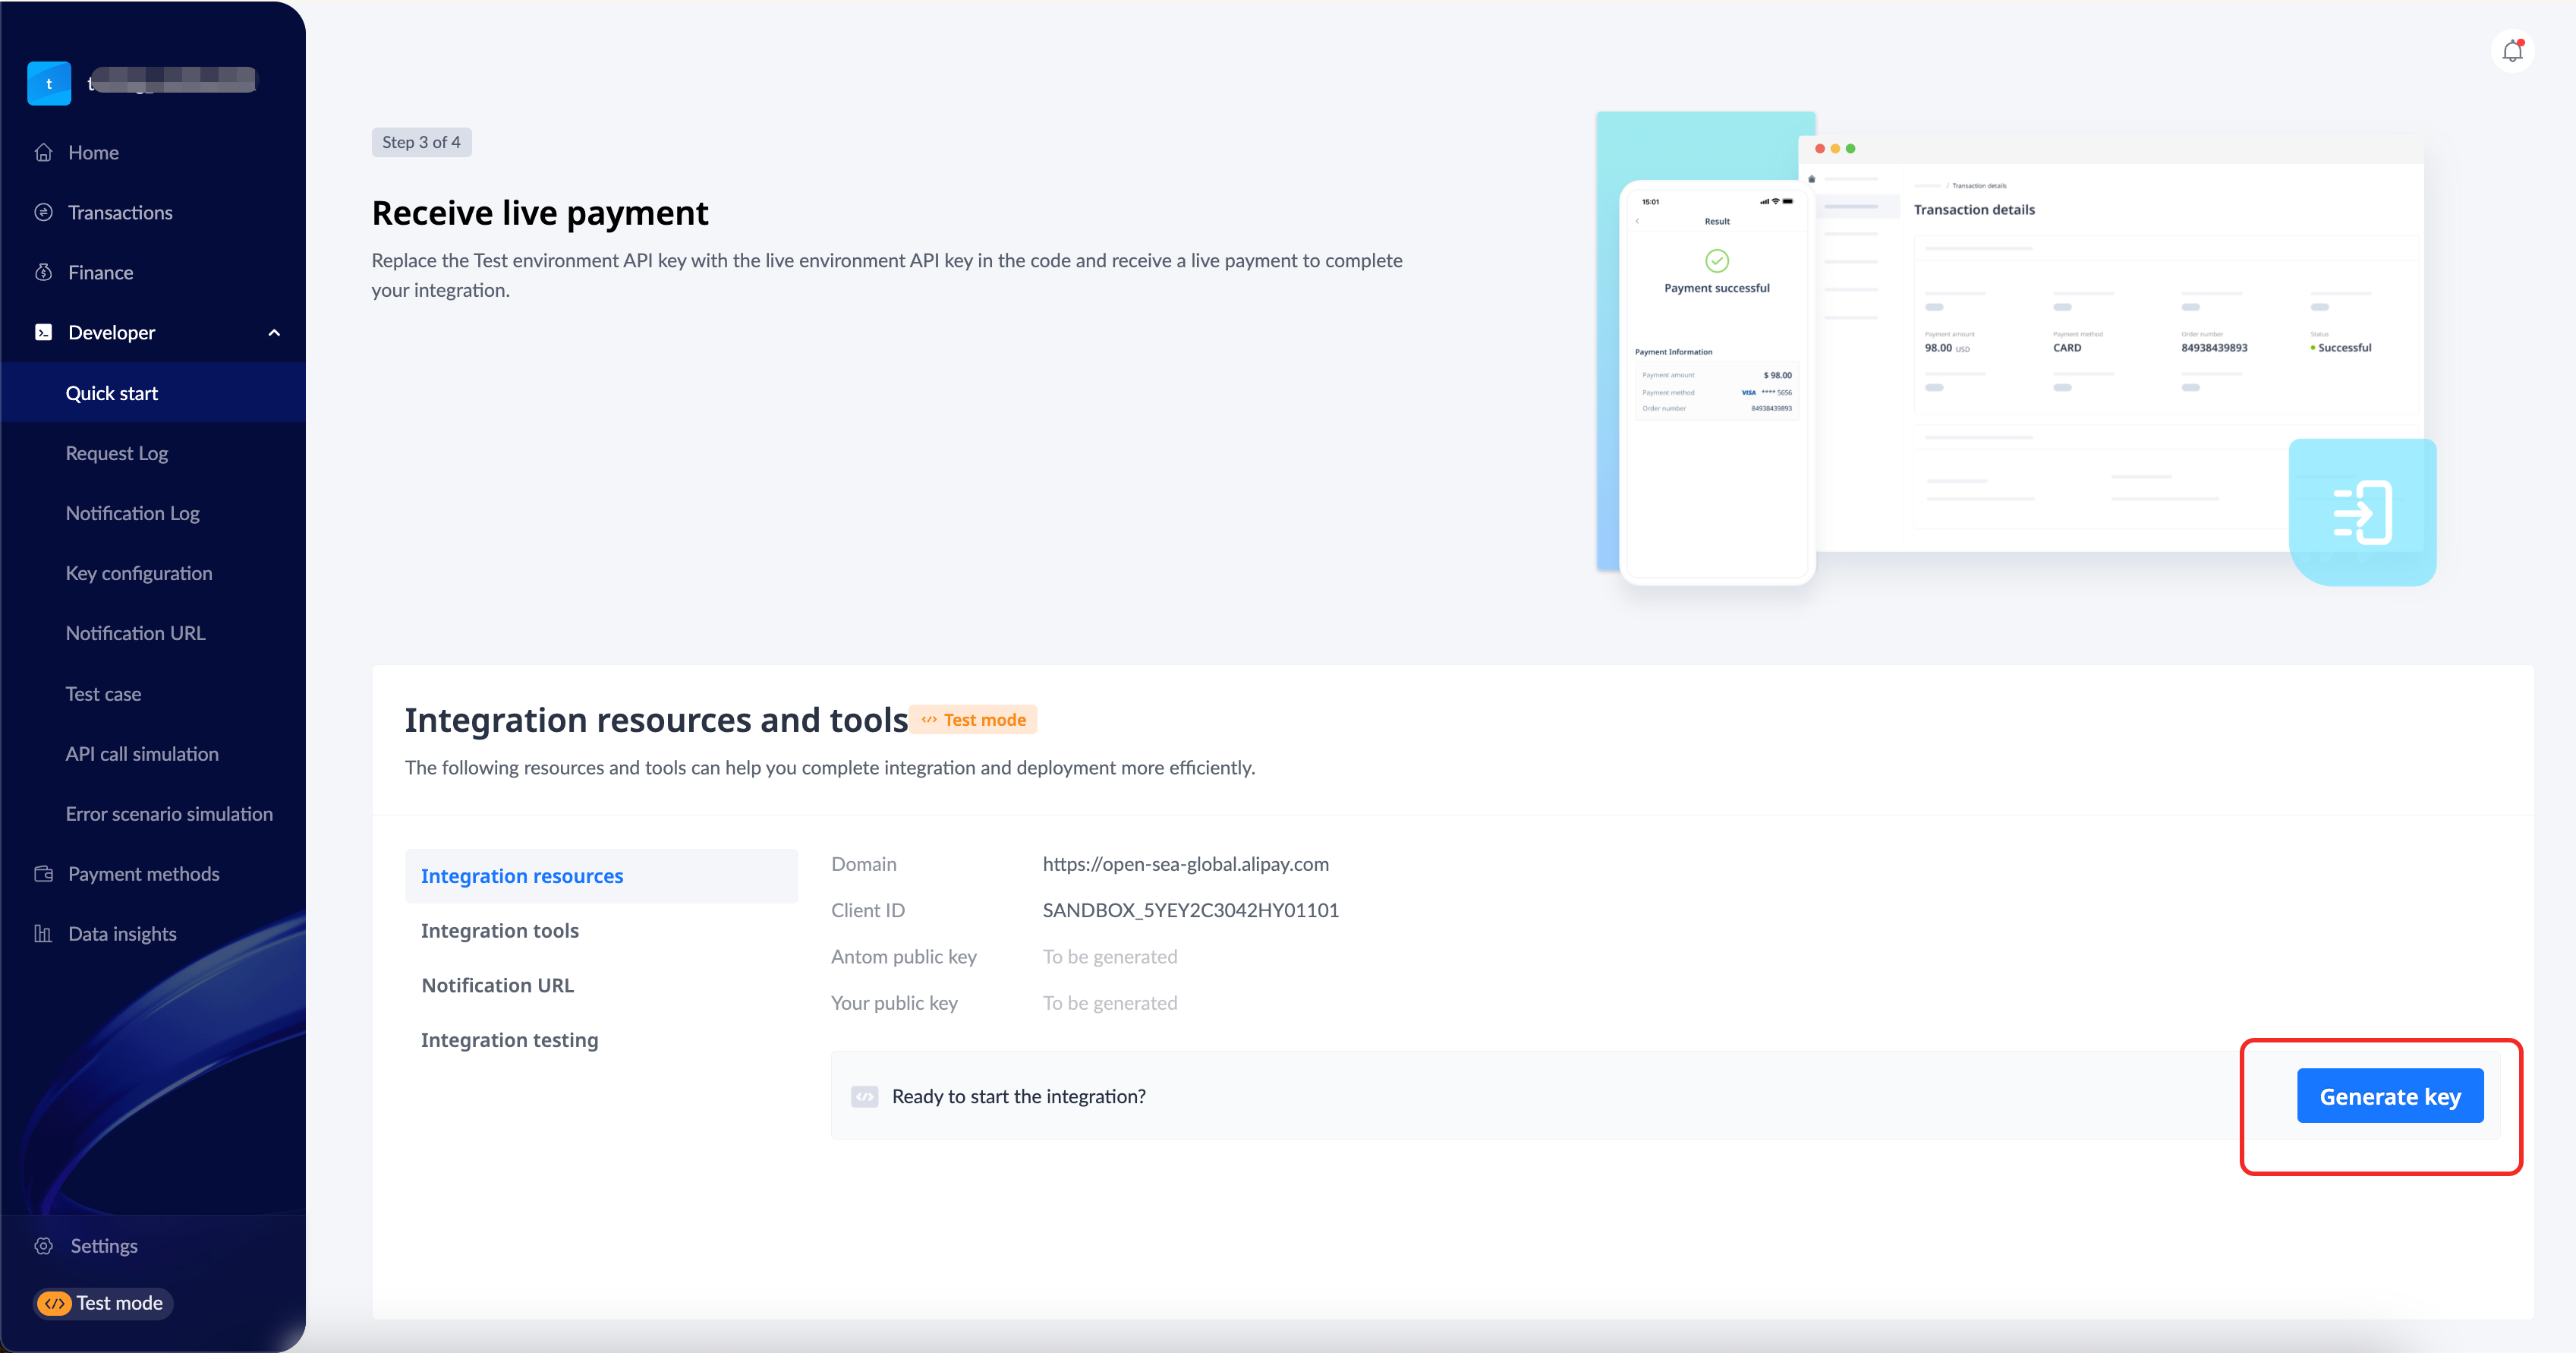
Generate keys
You can generate keys using either one of the following methods:
- Go to Developer > Quick Start, find Integration sources and tools, select Integration sources, and click Generate key.
- Go to Developer > Key configuration and click Generate key.
Live testing
- Connect Acquirer and enable payment methods. Go to Payment Methods > Acquirer Management, and Enable through All Payment Method.
- Generate keys. Go to Developer > Key configuration, and click Generate key.
- Get gateway URL and client ID. Go to Developer > Quick start > Integration resources and tools > Integration resources.
- Set notification URL. Go to Developer > Quick start > Integration resources and tools > Notification URL to receive APO notifications
- Update your coding in the live environment. After ensuring a test payment is received in the live environment, you can start processing online payments.
